Drying out your home after a leak starts with removing standing water immediately, increasing airflow, and reducing indoor humidity. Acting within the first 24 hours is critical to prevent mold growth and structural damage.
Water leaks can happen suddenly, whether from a burst pipe, roof issue, or appliance failure. Even after the water source is stopped, moisture can remain trapped inside walls, flooring, and hidden spaces.
Knowing how to dry out your home after a leak properly helps prevent long-term damage and reduces the risk of mold. In humid climates like Miami, moisture can linger longer, making fast and thorough drying even more important. Taking the right steps early can make a major difference in how much damage occurs—and how expensive the repairs become.
Why Proper Drying Is So Important
When water enters your home, it doesn’t just sit on the surface. It spreads quickly into porous materials such as drywall, wood, insulation, and even tile grout. Even if everything looks dry on the outside, moisture may still be present underneath.
In humid climates like Miami, this becomes even more serious. Warm temperatures and high humidity levels allow moisture to linger longer, increasing the risk of mold growth.
If a home is not properly dried:
- Mold can begin forming within 24–48 hours
- Structural materials may weaken over time
- Odors can develop and spread throughout the home
- Damage can continue even after the leak is fixed
Understanding how to dry out your home after a leak helps you stop the problem at its source—not just on the surface.
How to Dry Out Your Home After a Leak
1. Stop the Water Source First
Before you begin drying, make sure the source of the leak has been completely addressed. This may involve shutting off the main water supply, repairing a broken pipe, or fixing an appliance.
If water continues to enter the area, drying efforts will not be effective. Take time to confirm that the leak has been fully stopped before moving forward.
2. Remove Standing Water Immediately
The faster you remove standing water, the better your chances of limiting damage.
Start by clearing out as much water as possible using available tools. Towels, mops, buckets, and wet/dry vacuums can all help extract water from floors and surfaces.
Focus on areas where water has pooled, as these spots tend to absorb moisture quickly. Even a small amount of standing water can begin soaking into materials within minutes.
3. Move and Protect Your Belongings
Water can damage personal items quickly, especially fabrics, wood, and electronics. After removing standing water, shift your focus to protecting what you can.
Move furniture, rugs, and belongings to a dry area. If items are wet, allow them to air dry separately to prevent moisture from spreading. Keeping items elevated can also help avoid further exposure.
This step not only protects your belongings but also clears the space, making it easier to dry the affected area more efficiently.
4. Increase Airflow Throughout the Space
Air movement is one of the most important parts of the drying process. Without proper airflow, moisture can remain trapped and slow down drying.
Use fans to circulate air across wet surfaces. Ceiling fans, box fans, or portable units can all help keep air moving. Position them in a way that pushes moisture out of the area rather than allowing it to settle.
Open interior doors to improve circulation between rooms. Creating consistent airflow helps speed up evaporation and reduces the chance of moisture lingering.
5. Control Humidity Levels
In humid environments, removing moisture from the air is just as important as drying surfaces. Running your air conditioning system can help regulate indoor humidity and support the drying process.
If available, a dehumidifier can be even more effective. It pulls excess moisture from the air, helping surfaces dry faster and reducing the risk of mold.
Maintaining lower humidity levels is a key part of learning how to dry out your home after a leak, especially in areas where moisture tends to persist.
6. Dry Walls, Floors, and Hidden Areas
Surface drying is only part of the process. Water often seeps into materials that are not immediately visible, such as behind walls or under flooring.
Pay close attention to:
- Baseboards and drywall
- Carpet padding and subfloors
- Cabinets and built-in structures
These areas may require extra time to dry. In some cases, materials that have absorbed too much water may need to be removed to prevent further damage.
Ignoring hidden moisture is one of the main reasons mold develops after a leak.
7. Clean and Sanitize the Area
After drying, cleaning the affected area helps remove any residue left behind by the water. This is especially important if the leak involved contaminated water.
Use appropriate cleaning solutions to wipe down surfaces and eliminate potential bacteria or odors. Keeping the area clean also reduces the likelihood of mold returning.
8. Monitor the Area Over Time
Drying doesn’t end once surfaces feel dry. Continue to check the area over the next few days to ensure moisture hasn’t returned.
Look for signs such as:
- Damp spots reappearing
- Musty odors
- Discoloration on walls or flooring
If you notice any of these, it may indicate that moisture is still present in hidden areas.
Signs Your Home Is Not Fully Dry
Even after following the steps above, it’s possible for moisture to remain in your home. Recognizing the signs of incomplete drying can help you act before the problem worsens.
Common indicators include:
- A persistent damp or musty smell
- Warping or swelling in wood materials
- Peeling paint or bubbling walls
- Increased humidity indoors
- Mold starting to appear
If any of these signs are present, additional drying may be needed.
When to Call Professionals
While it’s possible to handle small leaks on your own, larger or more complex situations often require professional help. Water can spread further than expected, and without proper equipment, it can be difficult to remove all moisture.
You should consider calling professionals if:
- Water has affected multiple rooms
- Moisture has reached walls or subflooring
- The leak went unnoticed for several hours or longer
- Mold has started to develop
- You’re unsure if the area is fully dry
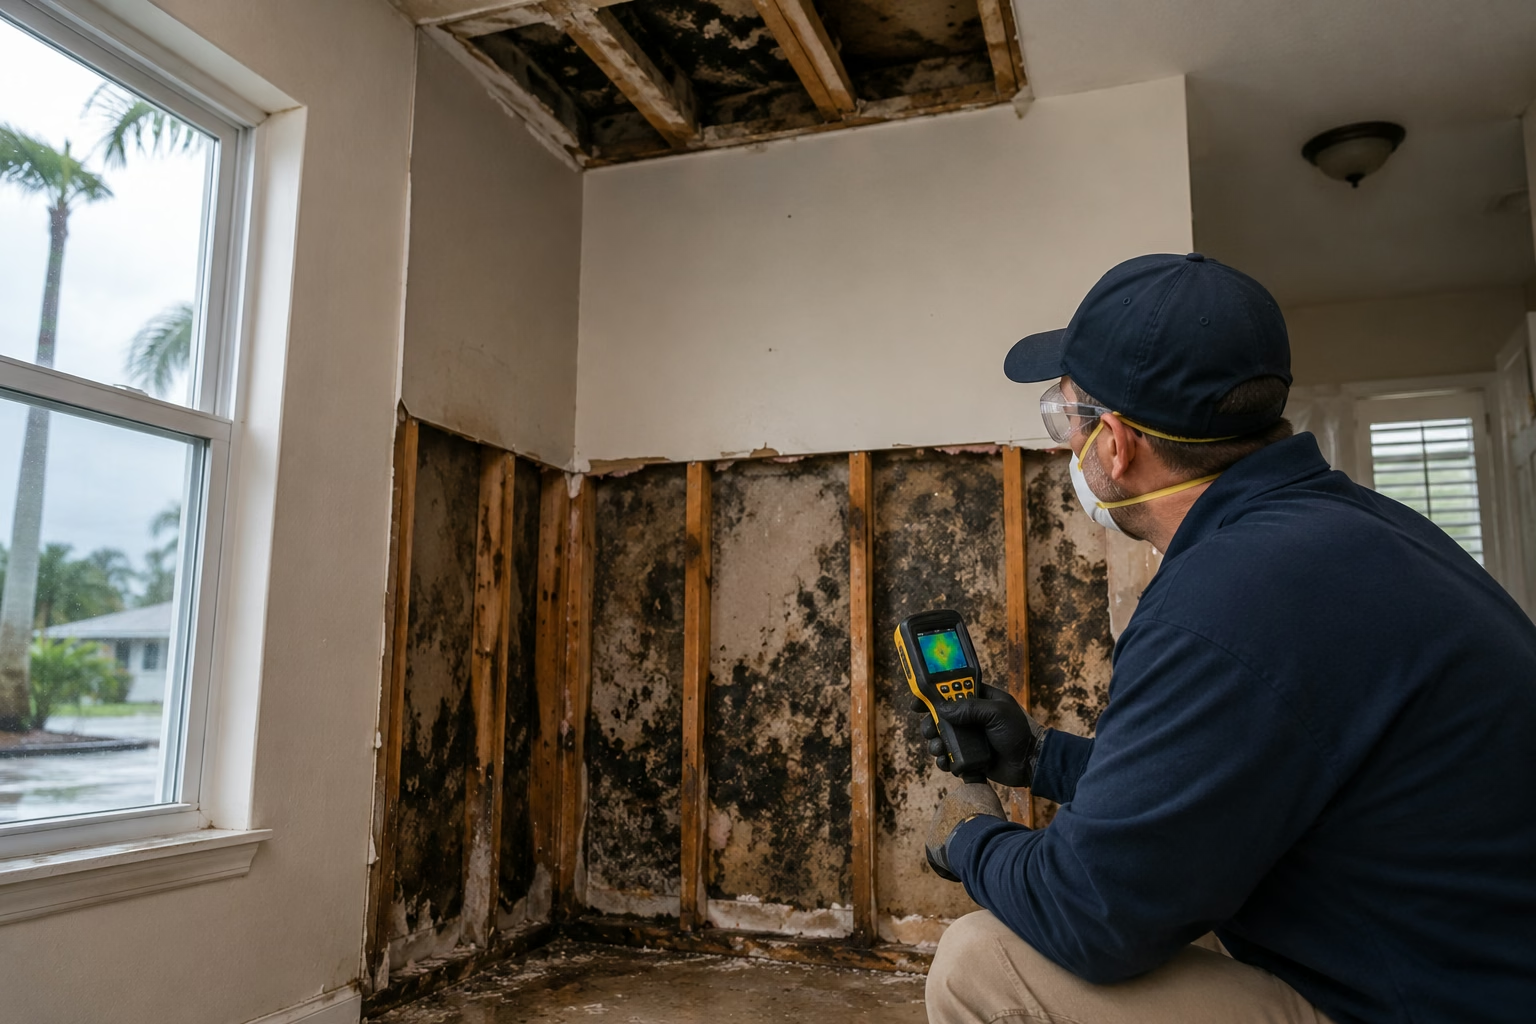
Professional restoration teams use specialized equipment such as industrial air movers, dehumidifiers, and moisture detection tools. These allow them to dry areas that are difficult to reach and ensure that your home is fully restored.
How Long Does It Take to Dry a Home After a Leak?
Drying time can vary depending on the severity of the leak and the materials affected. In general, surface drying may take a few hours to a day, while deeper structural drying can take several days.
Factors that affect drying time include:
- The amount of water involved
- The type of materials affected
- Indoor humidity levels
- Airflow and ventilation
Rushing the process can leave moisture behind, so it’s important to allow enough time for thorough drying.
FAQs
How quickly should I start drying after a leak?
Immediately. The sooner you begin, the less chance moisture has to spread and cause damage.
Can I rely on fans alone to dry my home?
Fans help with airflow, but they may not remove moisture from deeper materials. Combining airflow with humidity control is more effective.
Will mold grow after a small leak?
It can, especially in humid environments. Even small leaks can lead to mold if moisture is not fully removed.
Do I need a dehumidifier?
In humid climates, a dehumidifier can significantly improve the drying process and reduce the risk of mold.
How do I know if everything is fully dry?
If there are no damp spots, odors, or signs of moisture returning after a few days, the area is likely dry. If unsure, professional assessment may be needed.
Takeaways
Knowing how to dry out your home after a leak can help you take immediate action and prevent long-term damage. While it may seem like the problem is solved once the water is gone, proper drying is what truly protects your home.
By removing water quickly, improving airflow, controlling humidity, and monitoring the area, you can reduce the risk of mold and structural issues. Acting early is key—every hour counts when it comes to water damage.
If the situation becomes too large or complex, professional help can ensure your home is fully dried and restored. Taking the right steps now can save you from bigger problems later.
The Paul Davis team is local, available 24/7, and equipped to assess, dry, and remediate moisture and mold problems in South Florida homes. Prevention is always the better path, but when mold does appear, fast professional response makes a significant difference in the outcome.
Call Us 24/7 for a Free Inspection: 305-787-2260
Paul Davis Restoration of Miami Beach & Hialeah acts quickly to stop damage in Aventura, Miami Beach, Hialeah, Doral, and beyond.